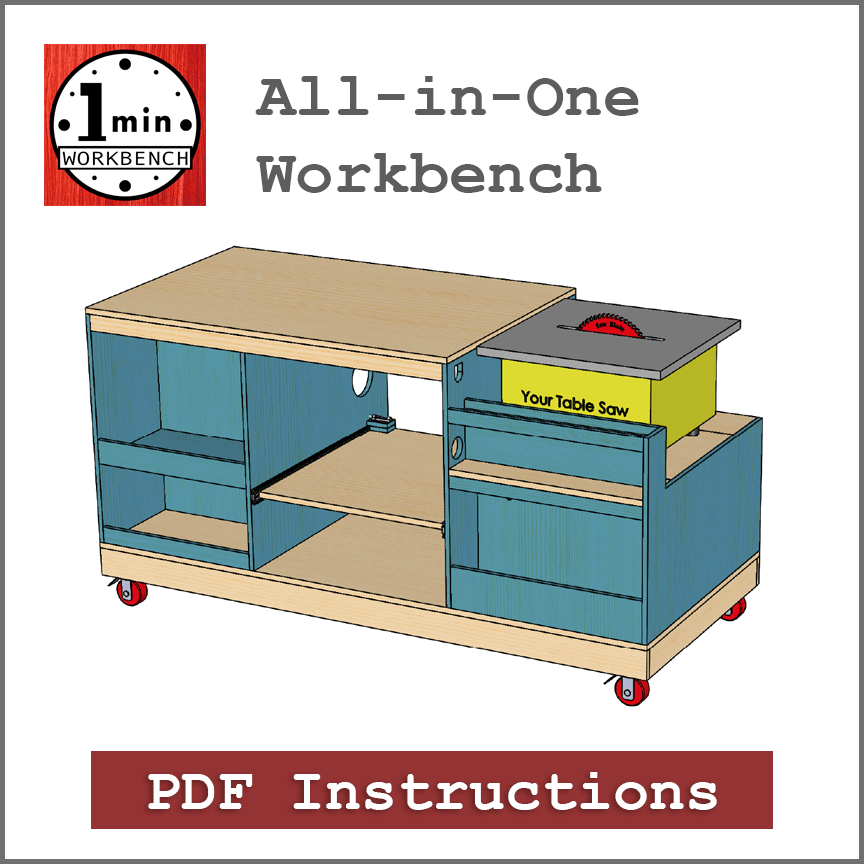
All-in-One Workbench, Building Instructions
$ 18.00
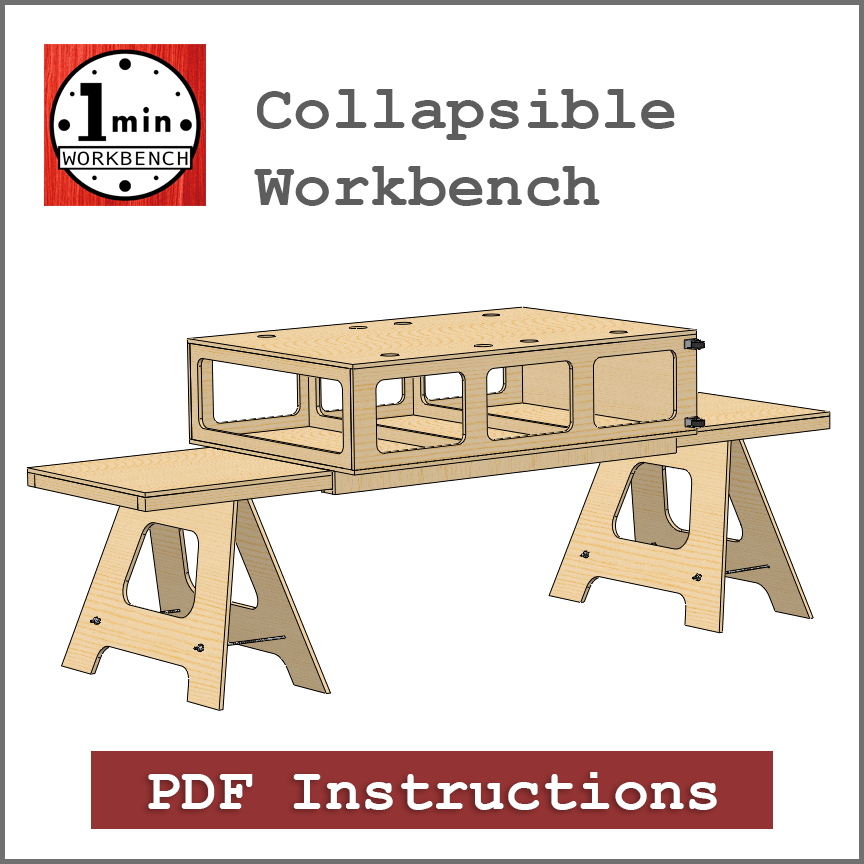
I love, love, love my All-In-One Workbench. I LOVE IT. I wanted to make a video review for Tommy but when I got my “How did it turn out?” email I figured I should just do a written review. If I do a video I’ll send Tommy the link. I never took a shop class, never did any construction prior to this, although I consider myself a basic DIYer. I’m 59 and I recently started to teach myself how to build stuff. I mean, based on some Youtube videos I put up a French cleat storage system for my garage gym and then I built cantilevered storage shelves for the garage–that’s it! My first woodworking projects! But I quickly got tired of working on the cold garage floor. I needed a bench. I started looking for workbench plans but they were all too big. No matter how much I rearranged the stuff in our garage, the only storage space for a bench (and our air compressor and miter saw) was exactly six feet long. I couldn’t figure out how to add a bench to that small area. I looked at all sorts of solutions: folding benches, drop-down benches, collapsible benches… then I saw Tommy’s All In One Workbench video and it was the perfect solution. I hesitated to get the plans, though, because of 1) my lack of experience and 2) my lack of a table saw. Eventually I found a table saw on Craigslist and figured out how to use it without killing myself. I was really terrified of that saw! But I figured it out! Then I bought Tommy’s plans. They are exceptionally easy to follow. If a beginner like me — who just taught herself how to use a table saw from Youtube videos — can follow these plans, anybody can. Tommy has a great chart to calculate the height of the platform for the saw and when I first used the table saw on my completed bench I was so happy to see the cut wood slide perfectly onto the bench surface. Custom-made! I made mistakes due to inexperience and user error, but that wasn’t Tommy’s fault. For example, I measured my air compressor’s width and height, and then wrote down the width in the HEIGHT box in the plans… d’oh!… In reality my air compressor was too tall for the compartment but I blithely went on to make the bench as if the compressor were a lot shorter than it really is. When I finally realized my error (while trying to load the compressor into the compartment) I was so upset! Then I found the “modifications” page on Tommy’s site, where someone else had modified the compressor lid to accommodate their overly large compressor, so that’s what I did, too. Because I didn’t want sawdust getting into the compressor compartment, I attached a small cover and now it looks like it was made to be that way, so whew. In my short career of using my husband’s air compressor, I’d developed the habit of draining it after each use rather than using the pull ring. So I did install the pull ring as in the plans but also added a hole on the back of the bench immediately adjacent to the compressor’s drain plug. It’s just big enough for my hand to reach in and turn the plug so I can easily let the air/moisture out of the compressor. My first drawer slides? When I installed the miter saw pullout shelf! My first drawer? When I made a copy of the one Tommy has in his video! Very basic and I’m already thinking of modifying it. But… yay, me! Another modification I might do: I am considering an appliance lift bracket so my miter saw can lift up to table height. I thought I’d work with the shelf slide for a while and see if the lower height bothered me. So far, no, and that appliance lift costs, like, 80 bucks, so probably won’t do it. I got a Dust Deputy and it (with my shop vac) won’t fit into the vacuum compartment so I filled that space instead with a chest of plastic drawers that fit perfectly. Later I might use that space for another power tool… or shelves or drawers or another power tool! Oh, the endless possibilities! And finally… about that odd color in the finish: OK, so I wanted to stain my bench red because I liked the red stain on Tommy’s mechanic’s tool chest in his videos. So I got some wood dye and started to stain the bench red… but damn if the plywood didn’t turn that red dye into purple. I tried to correct it but it just got purpler and purpler… I guess that this bench WANTED to be purple. OK, so it’s kinda wild-looking but I’ve come to like it. And I only did 10 coats of poly for the top rather than the recommended 20 coats (20 coats of poly, Tommy? Really?) because I was so eager to start using it. At the rate I was going, 20 coats of poly might have taken another week and I didn’t want to wait. I’ve got photos but can’t see how to submit them in the reviews; so I’ll email them to Tommy directly in case he is curious as to how my bench turned out. If he looks closely, he’ll see all the errors I made, and I made some big ones. Some I corrected, some I couldn’t, but I am embracing the massive, purplely imperfection. The end result is a beautiful (to me) bench that I am having SO MUCH FUN using. I feel so proud that I made this myself. Thank you, Tommy!
Related products
-
- -25%
Benchtop Jointer Mobile Cart
- $ 4.50
-
- -25%
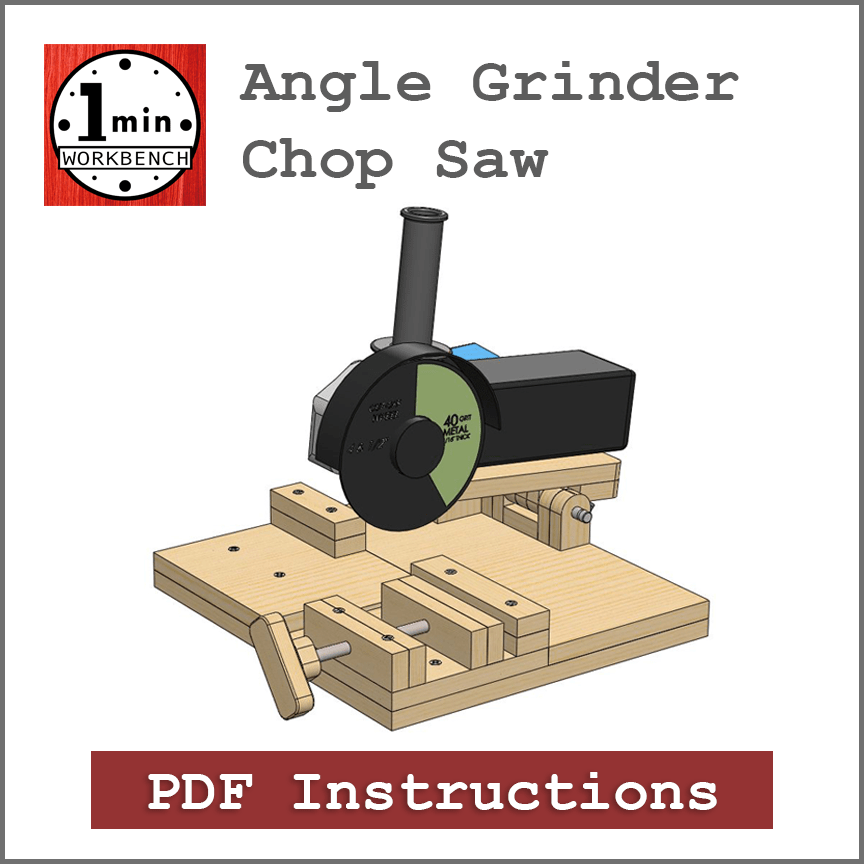
Angle Grinder Chop Saw
- $ 4.50